


LEDs 101: How to Light an LED Without Burning It Out
Lighting an LED seems simple—apply power and watch it glow. But without understanding polarity, current limits, and wiring pitfalls, an LED can burn out almost instantly. This guide breaks down the fundamentals behind safe LED operation using clear explanations, real-world examples, and beginner-friendly calculations.
Table of Contents
- What Is an LED and Why It Needs Protection
- Understanding LED Polarity
- Why LEDs Need Resistors
- Common Wiring Errors and How to Avoid Them
- Top 5 Frequently Asked Questions
- Final Thoughts
- Resources
What Is an LED and Why It Needs Protection
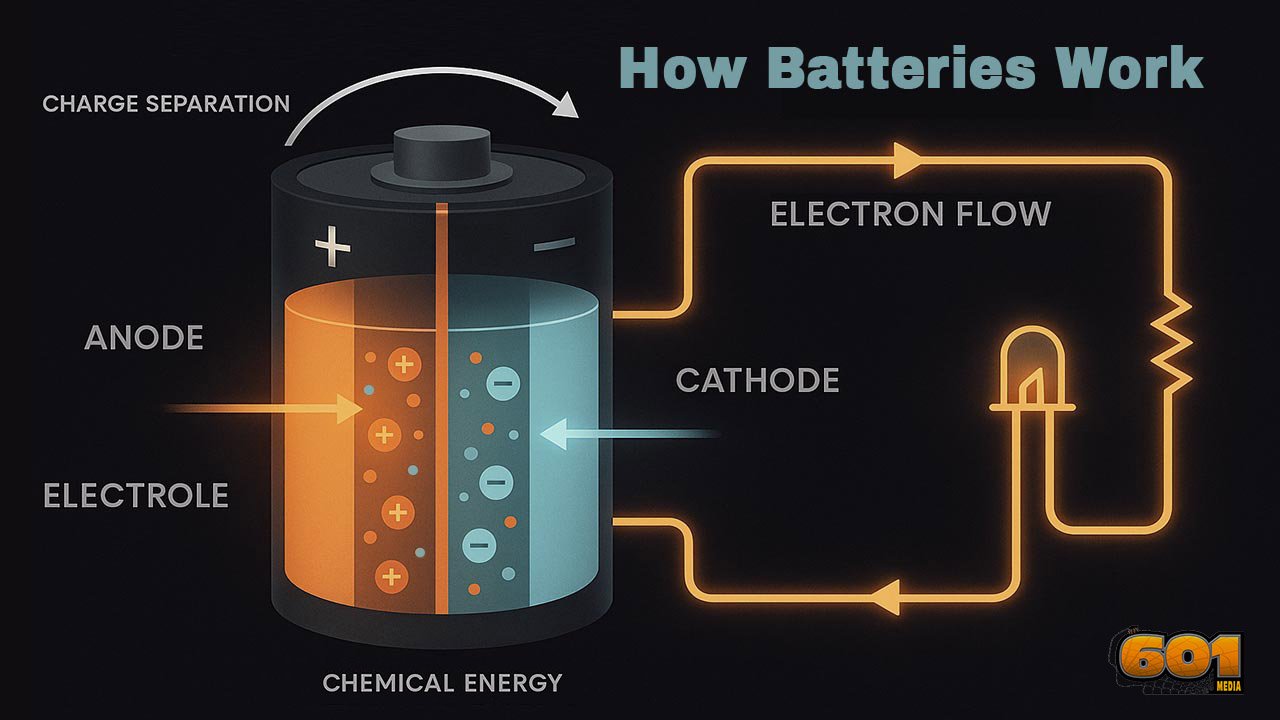
A light-emitting diode (LED) is a semiconductor device engineered to emit light when electrons flow across a junction. Unlike incandescent bulbs, which tolerate large variations in voltage, LEDs are sensitive electronic components that must operate within tightly controlled electrical limits.
The root issue: LEDs are current-driven devices, meaning that their brightness and lifespan depend on how much current flows through them. Exceed their rating—even briefly—and they can overheat, dim permanently, or fail outright.
Typical indicator LEDs operate at:
- Forward voltage (Vf): 1.8–3.3 V
- Safe current: 10–20 mA
- Instant burnout threshold: often around 30–50 mA
Because household batteries (1.5 V, 3 V, 9 V) and power supplies (5 V, 12 V) can deliver far more current than an LED can tolerate, a current-limiting resistor becomes essential.
Understanding LED Polarity
LEDs are polarized components, meaning current must flow in the correct direction.
How to Identify the Anode and Cathode
Manufacturers use several physical cues:
| Indicator | Anode (+) | Cathode (–) |
|---|---|---|
| Lead length | Longer leg | Shorter leg |
| Body shape | Round body | Flat edge on one side |
| Internal structure | Smaller electrode | Larger electrode |
Rule of thumb:
Long leg → Anode → Connect to + voltage.
Short leg → Cathode → Connect to ground or –.
Reversing polarity won’t usually destroy the LED because current doesn’t flow backward, but it can still cause problems—especially in AC or high-voltage circuits.
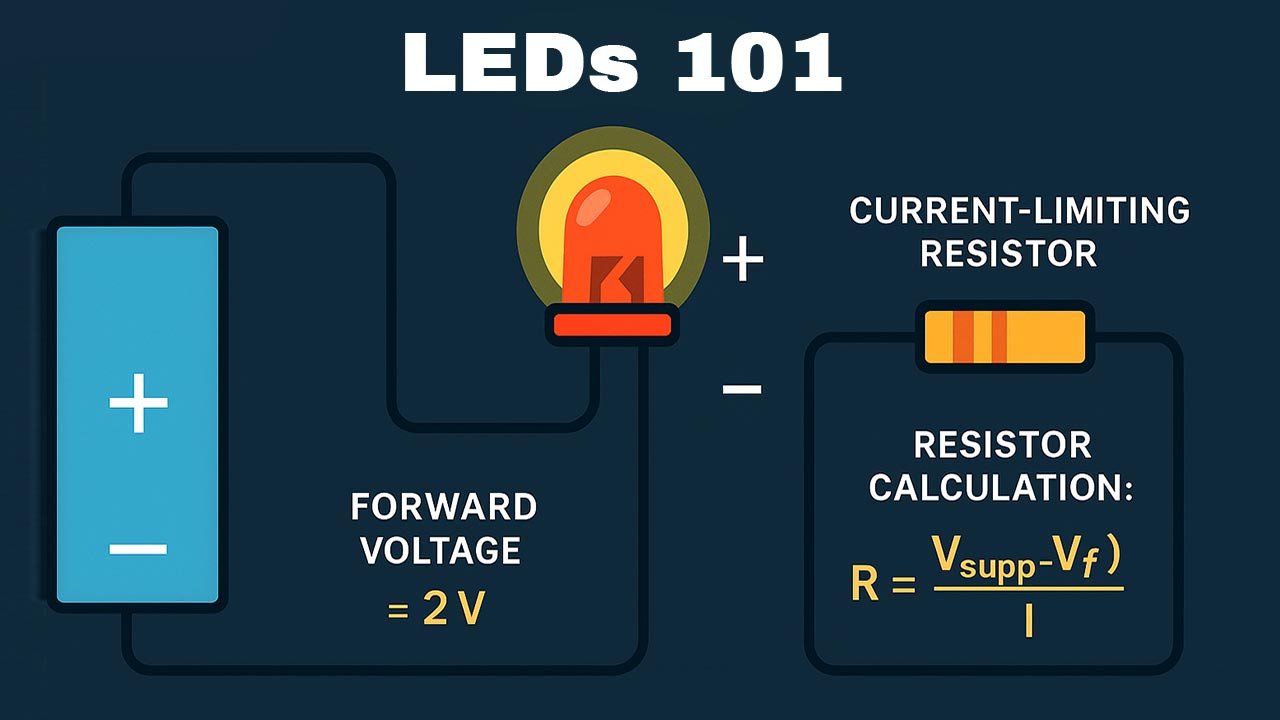
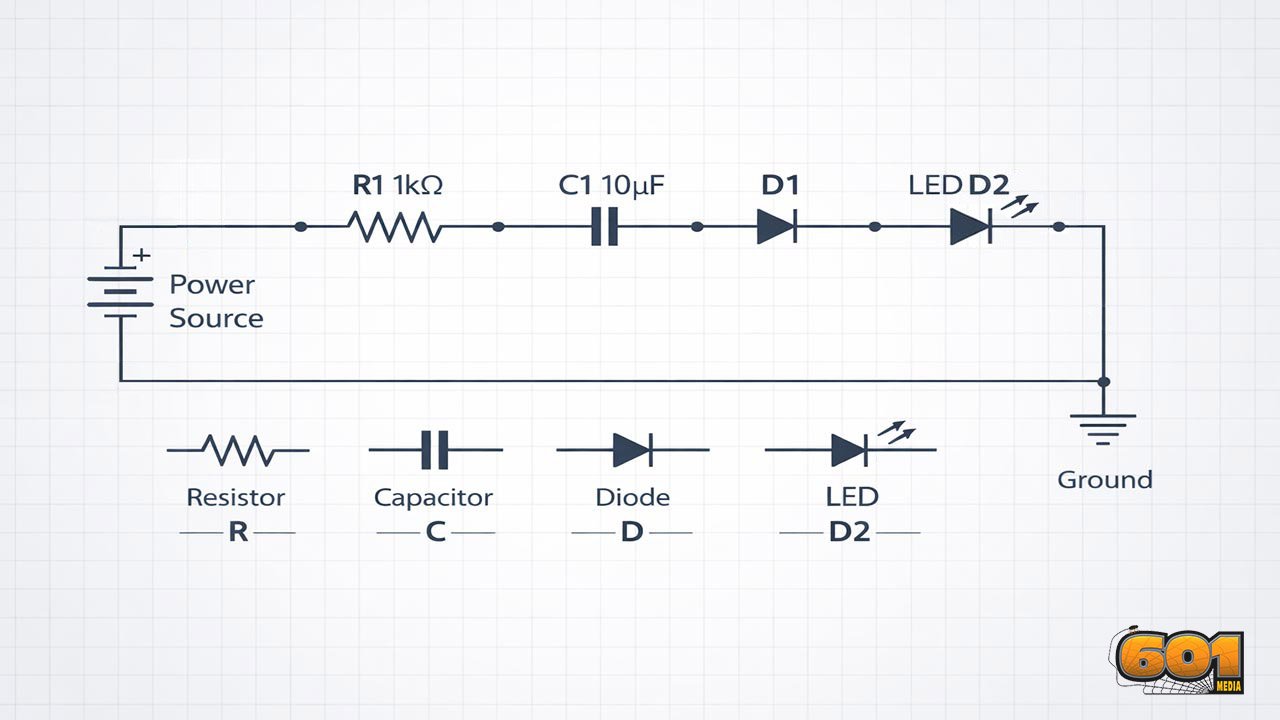
Why LEDs Need Resistors
Without a resistor, an LED will try to draw more current as long as voltage is available. This self-destructive behavior stems from the LED’s nonlinear I-V curve: once forward voltage is reached, even small increases in voltage cause large spikes in current. A resistor stabilizes and limits that current.
How to Calculate the Correct Resistor Value
Use Ohm’s Law:
R = (Vsupply − Vf) / I
Example:
- Supply voltage (Vsupply): 5 V
- LED forward voltage (Vf): 2 V
- Desired current (I): 20 mA (0.02 A)
R = (5 − 2) / 0.02 = 150 Ω
Choose the next standard size: 150 Ω or 180 Ω for longer life.
Safe Current Levels for Common LED Types
| LED Type | Typical Vf | Safe Current (mA) |
|---|---|---|
| Red/Green | 1.8–2.2 V | 10–20 mA |
| Blue/White | 3.0–3.3 V | 10–25 mA |
| High-brightness | 2–3.4 V | 20–30 mA |
| High-power (1W, 3W) | varies | 350 mA – 1000 mA (requires dedicated drivers) |
Common Wiring Errors and How to Avoid Them
Mistake #1: Wiring an LED Directly to a Battery
This is the fastest way to destroy an LED.
Even a simple 9V battery can push hundreds of milliamps—far exceeding the LED’s max of 20 mA.
Fix:
Always include a resistor calculated using Ohm’s Law.
Mistake #2: Reversing Polarity
Reversed polarity typically results in:
- No light
- Possible stress to internal junction
- Damage if reverse voltage exceeds LED rating (usually 5V)
Fix:
Double-check the long leg (anode) and flat edge (cathode) before wiring.
Mistake #3: Undersized or Oversized Resistors
- Too small: LED becomes extremely bright then burns out.
- Too large: LED becomes very dim or fails to light.
If your LED is dim, measure voltage across the resistor; you may be dropping too much voltage.
Mistake #4: Incorrect Series/Parallel Wiring
Series wiring:
Current stays the same; voltages add.
Ideal for multiple LEDs with a single resistor.
Parallel wiring:
Voltage is the same, current splits.
Incorrect parallel wiring—especially without individual resistors—causes some LEDs to hog current while others dim.
Rule:
If LEDs are in parallel, each LED needs its own resistor.
Top 5 Frequently Asked Questions
Final Thoughts
The key to lighting an LED without burning it out lies in managing polarity, current, and resistance. LEDs are robust in many ways, but they have almost zero tolerance for excessive current. Once you understand how to size a resistor using Ohm’s Law and avoid polarity mistakes and wiring errors, you gain full control over brightness, safety, and long-term reliability. Mastering LED fundamentals serves as a gateway skill for anyone entering electronics, hardware prototyping, or IoT device design. Visit this page for more information on electronics in general.
Resources
- Adafruit Learning System – LED Basics
- SparkFun Electronics – Resistors and Ohm’s Law
- Electronics Tutorials – LED Characteristics
- IEEE Xplore – Semiconductor Device Behavior (LED Theory)
Leave A Comment